I live in an older home with baseboard heating in every room. I never look forward to my winter heating bill. This year, Im getting smart about energy savings with a smart home makeover. In this post, I'll walk you through the steps to build a reliable smart home setup. It first starts with a strong and secure WiFi network. After that, we'll add Sinope smart thermostats to set heating schedules from your smartphone. And if your a BC Hydro customer, I'll show you how to enrol Sinope smart thermostats into BC Hydro's Peak Saver program for extra rewards. Watch as I turn my smart home into a savings machine.
Step 1: Eliminate Wi-Fi dead spots
Before you add any smart gadgets, you need a reliable Wi-Fi network. In Canada, most people use the gateway box provided by TELUS, Rogers, or Bell. But if you have any dead spots, I highly recommend you upgrade to a mesh network instead. This is a Wi-Fi system made for mid to large multi-floor homes.
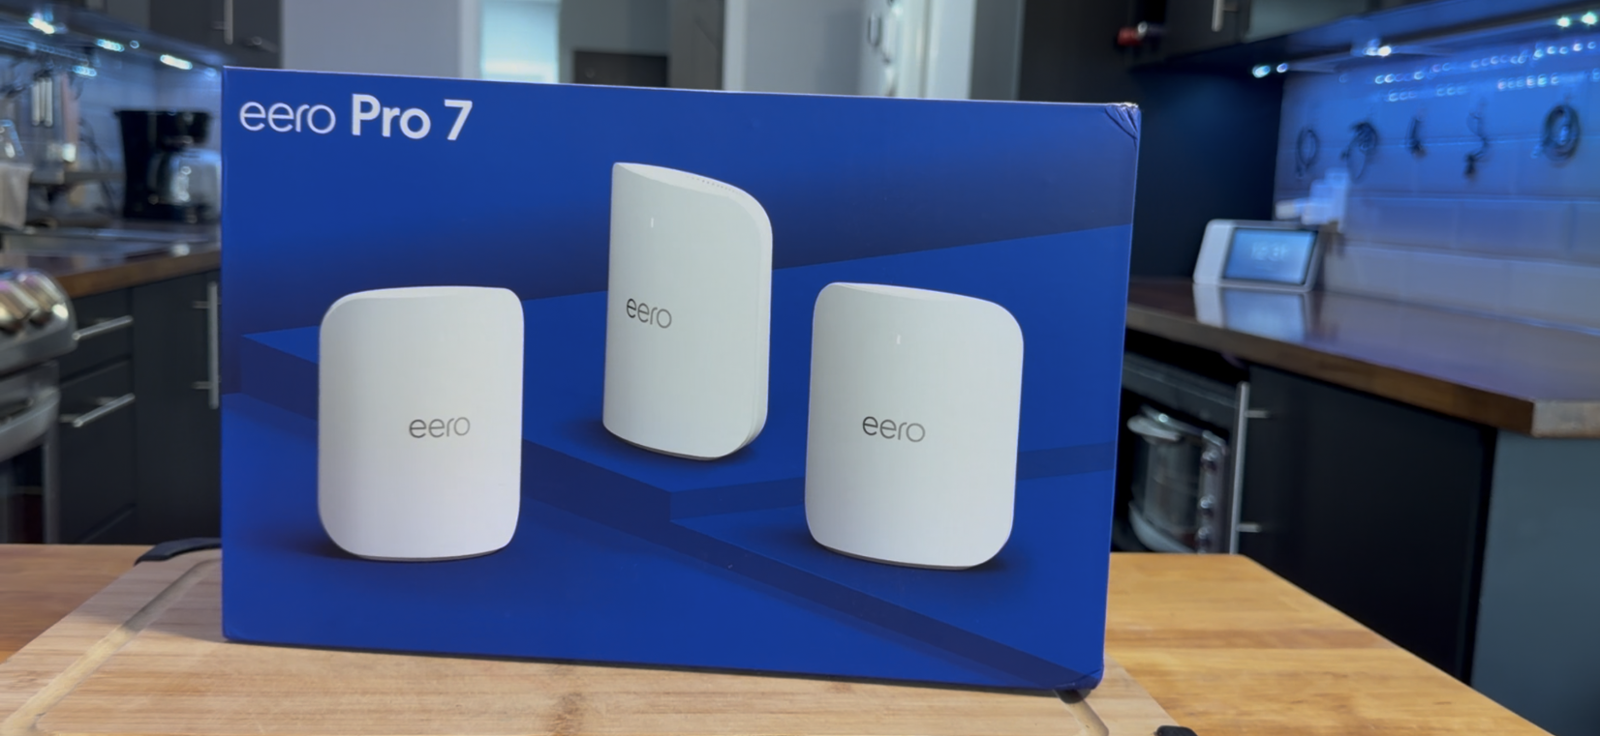
In my home, I'm upgrading my 2017 NETGEAR Orbi mesh system to the 2025 Eero Pro 7. This is a Wi-Fi 7 system with 3 satellites that you place in different areas. The thing to remember is there's a goldilocks zone with these Eero satellites. You don't want them too close, but also not too far. Thankfully, the eero app tells you if you placed the satellite in a good location or not. This makes it super easy and fun to build your home Wi-Fi network.
When setting up a mesh Wi-Fi network in a multi-floor home, my Handy Andy tip is to place one satellite on each floor for best coverage. Also use the same network name and password that you currently use. That way, all your devices will automatically connect to the new Wi-Fi network. Or you can take this opportunity to start fresh with a new Wi-Fi name and password. I also recommend that you create a Guest Wi-Fi network. Give that to friends and family to protect your main Wi-Fi network, especially as you add smart home devices.
The thing to remember is mesh Wi-Fi systems eliminate Wi-Fi dead spots. They're modular, you can keep adding more satellites to extend your Wi-Fi network and eliminate Wi-Fi dead spots. For most homes, it's the basement, garage, or backyard. Eero even makes an Outdoor WiFi 7 mesh satellite. It's designed to withstand the outdoor elements. I'm thinking about getting it to push the Wi-Fi network to my backyard shed. That will allow me to add even more outdoor security cameras to cover every entry point.
Step 2: Install a smart thermostat and water heater controller
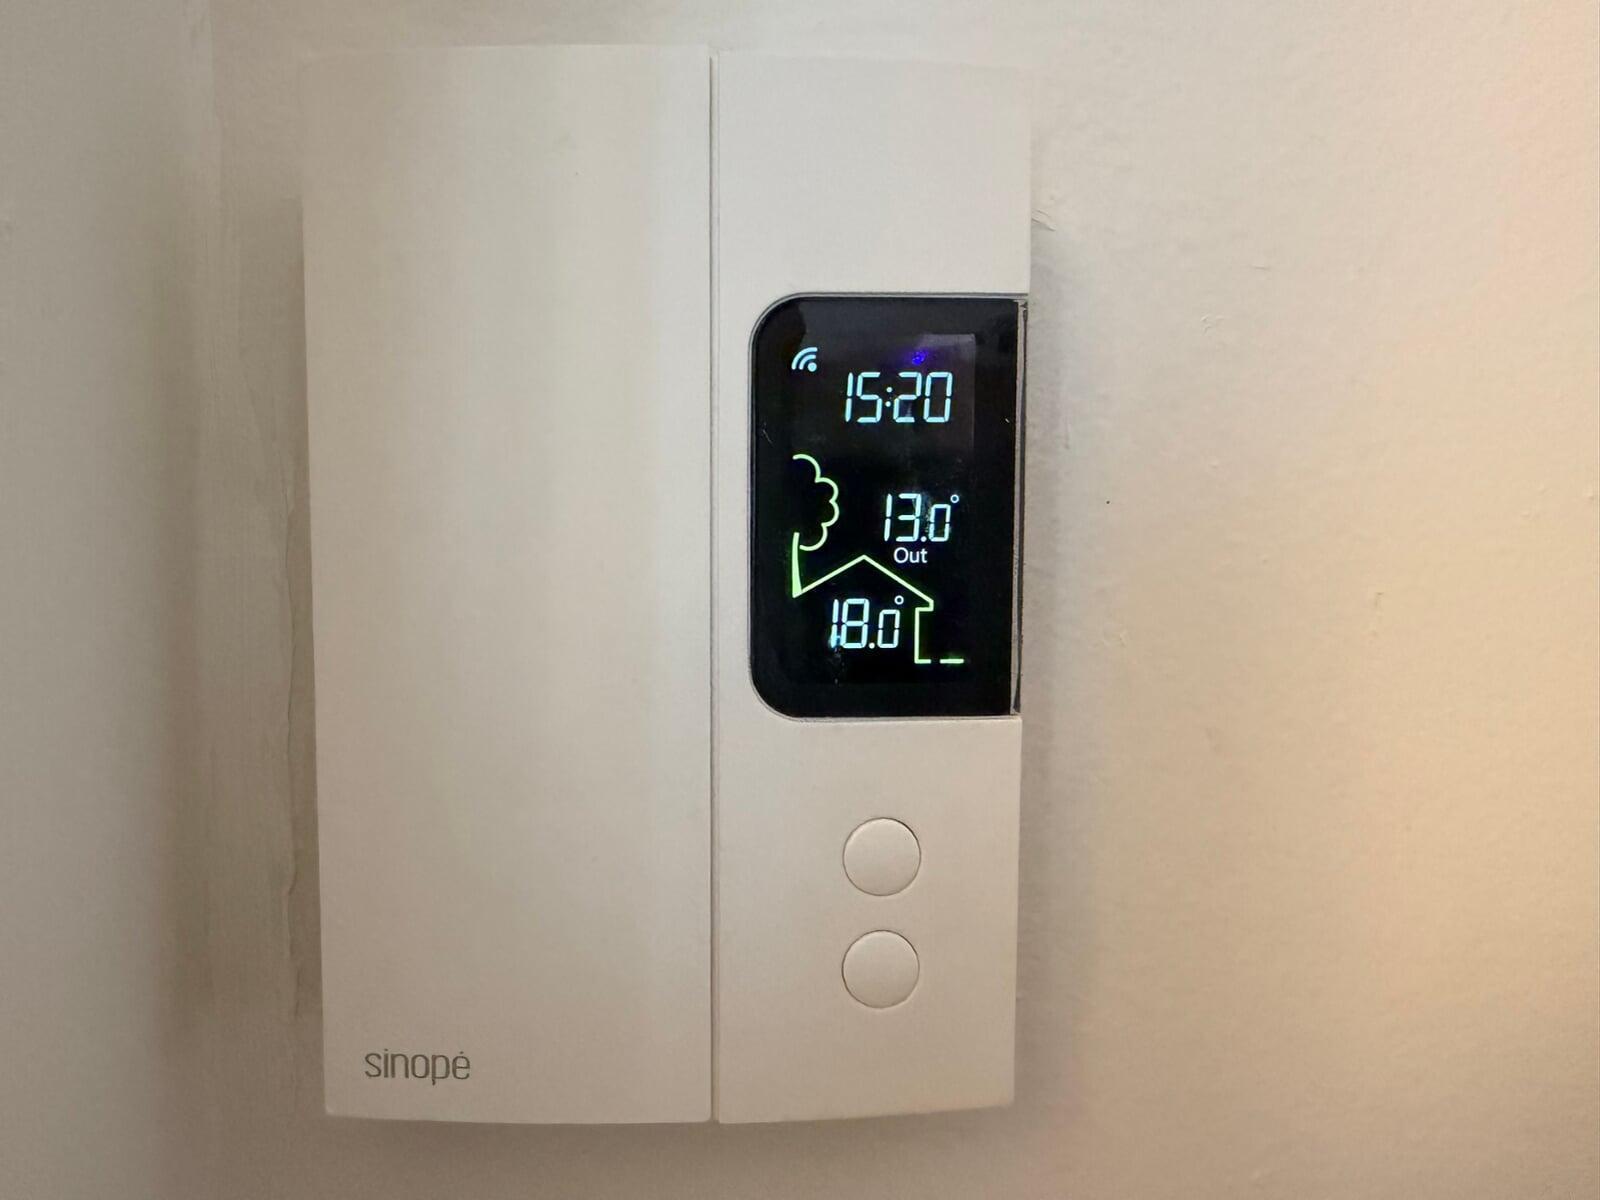
Smart thermostats are one of the best investment you can make. It allows you to program your family schedule into the smart thermostat so it automatically adjusts your home's temperature to save energy while you're asleep or away. Best of all, you don't have to sacrifice comfort. You can control the temperature via voice with a smart speaker, and gain insight into your families energy usage inside the app.
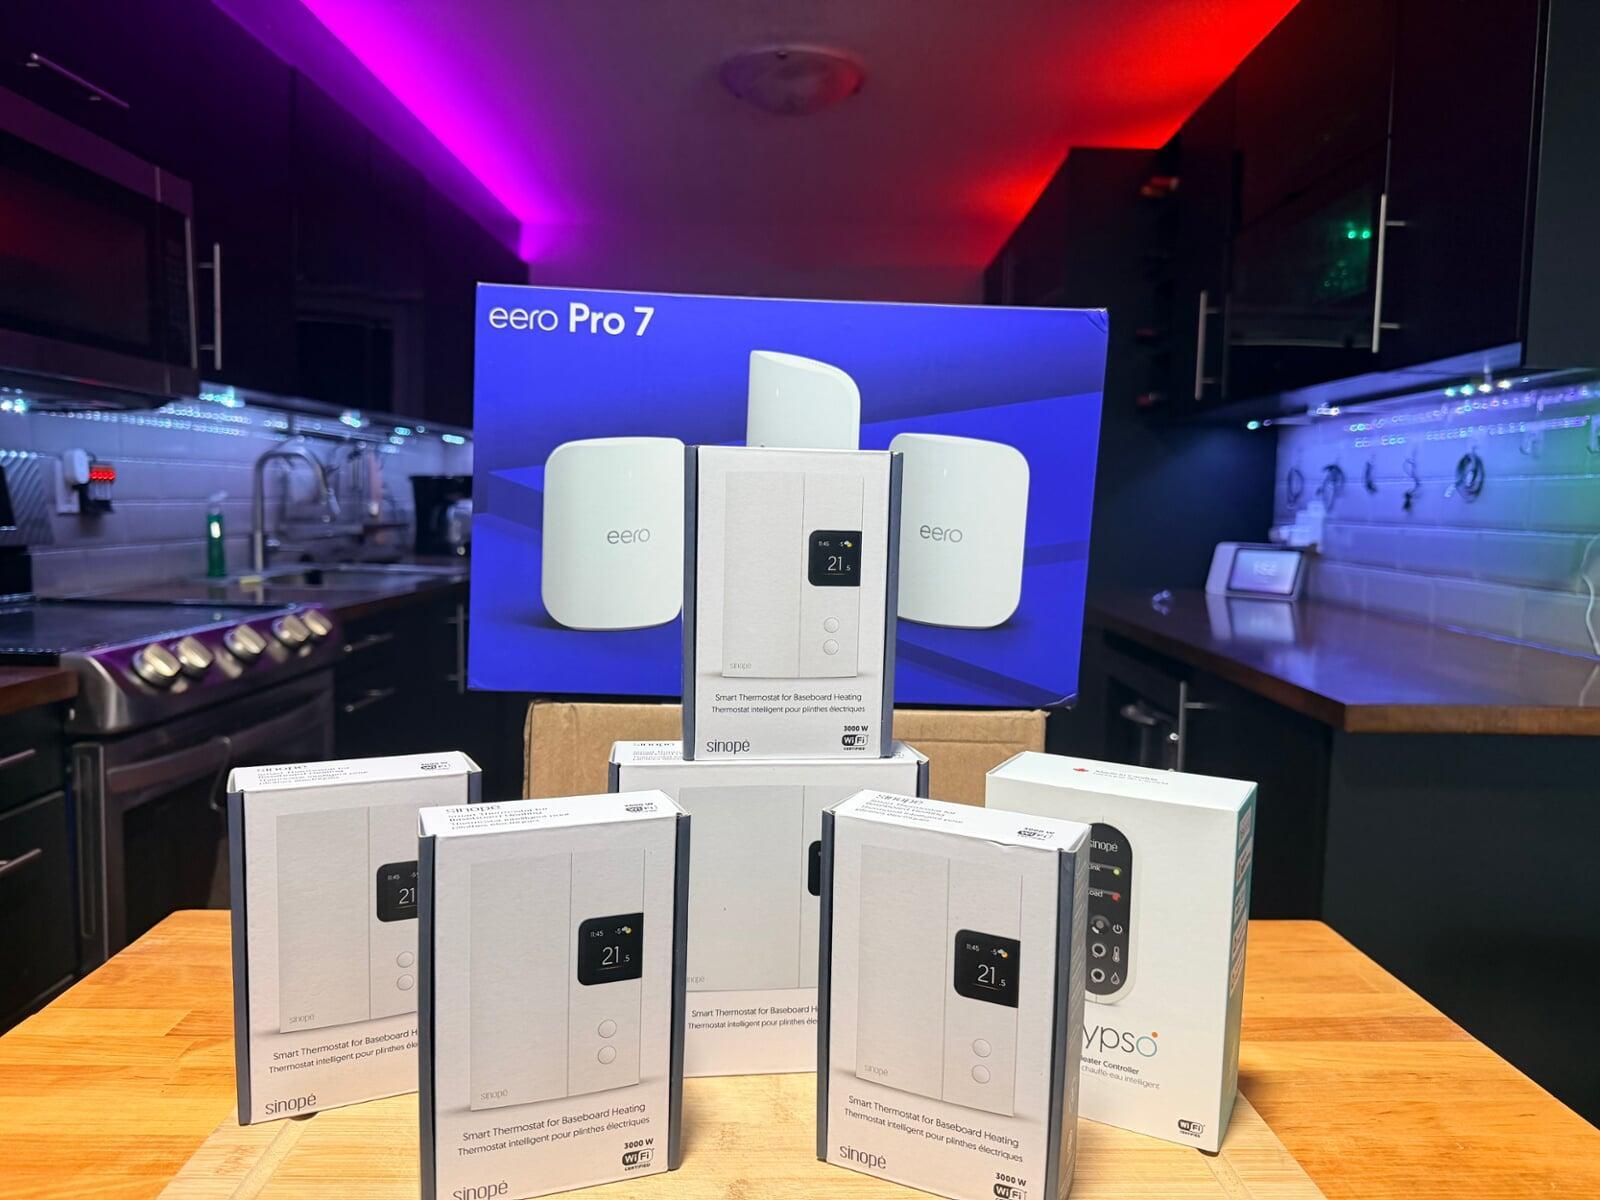
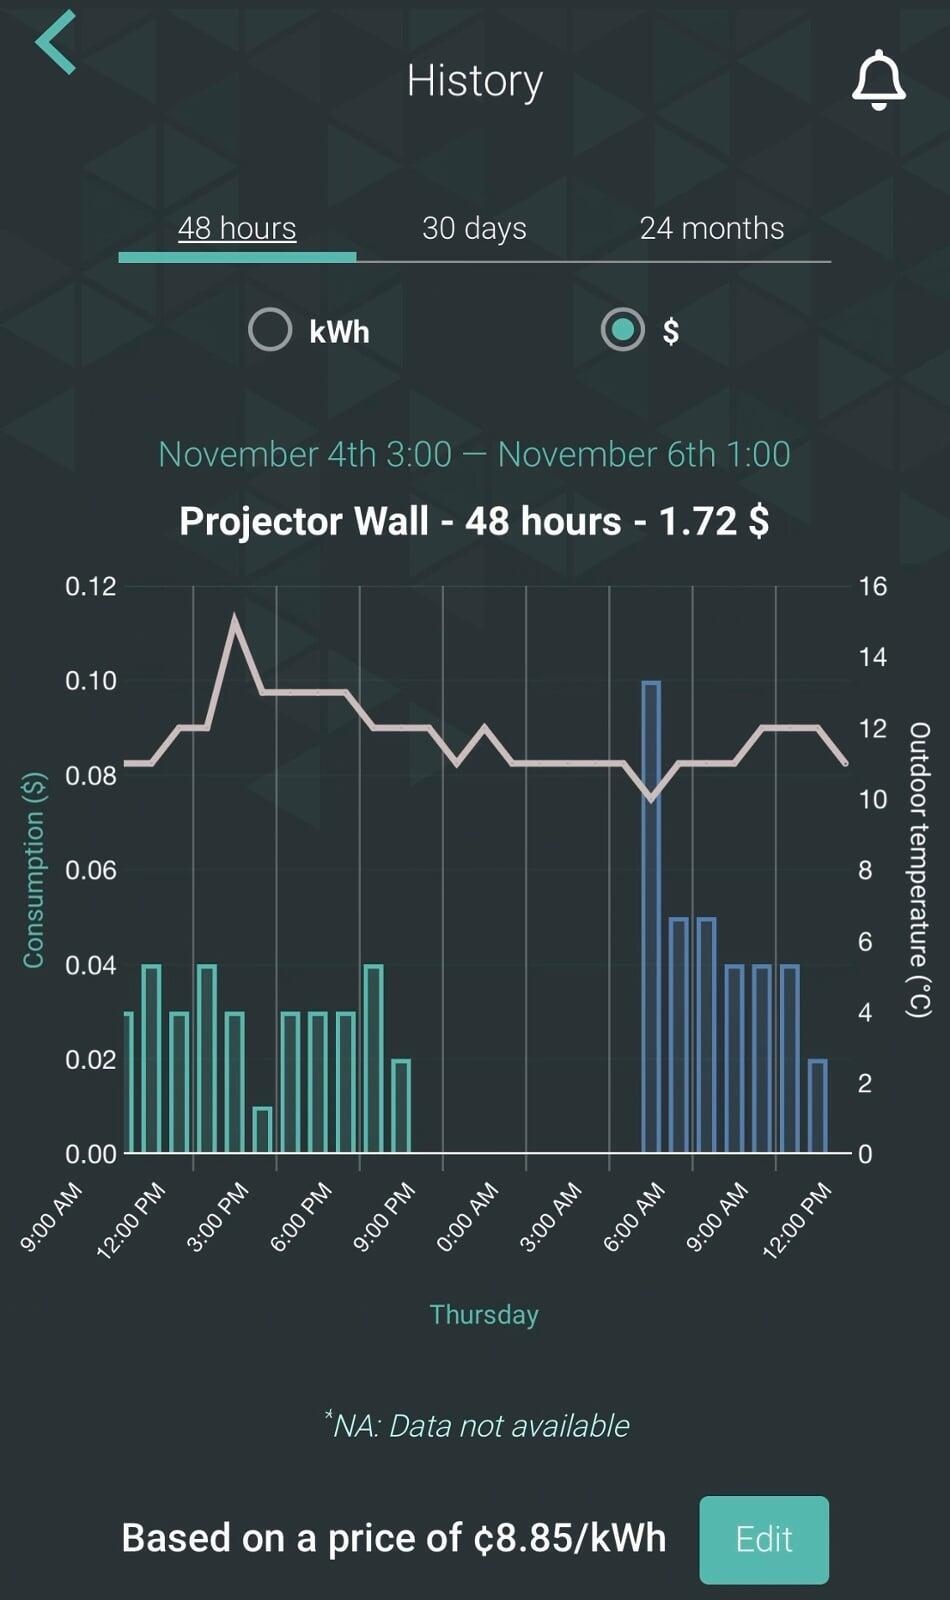
I've been using two Sinope Smart Thermostats in my home for several years. It's a Canadian company based in Quebec that has been in business since 2010. This year, I decided to retrofit all the thermostats in my home to Sinope thermostats. That way, I'll be able to fully program every room. Plus, the Neviweb app lets me see the energy costs of each room. This is valuable insight that helps me determine where exactly my energy costs are coming from.
Here's a fun fact about electric water heaters. Hot water consumption can account for 20% of an electricity bill. It's the second largest source of electricity consumption in a home. Those long hot showers are expensive. So if you have an electric water heater, check out The Calypso Smart Water Heater Controller. Like the smart thermostats, it allows remote control of any water heater controller up to 20.8A or 240V. When you head out of town, turn off your electric water heater to save money. Best of all, you can do it anywhere on your smartphone. This my friends, is how you save money. Don't pay for energy you don't use.
Register your smart device with BC Hydro’s Peak Energy Program
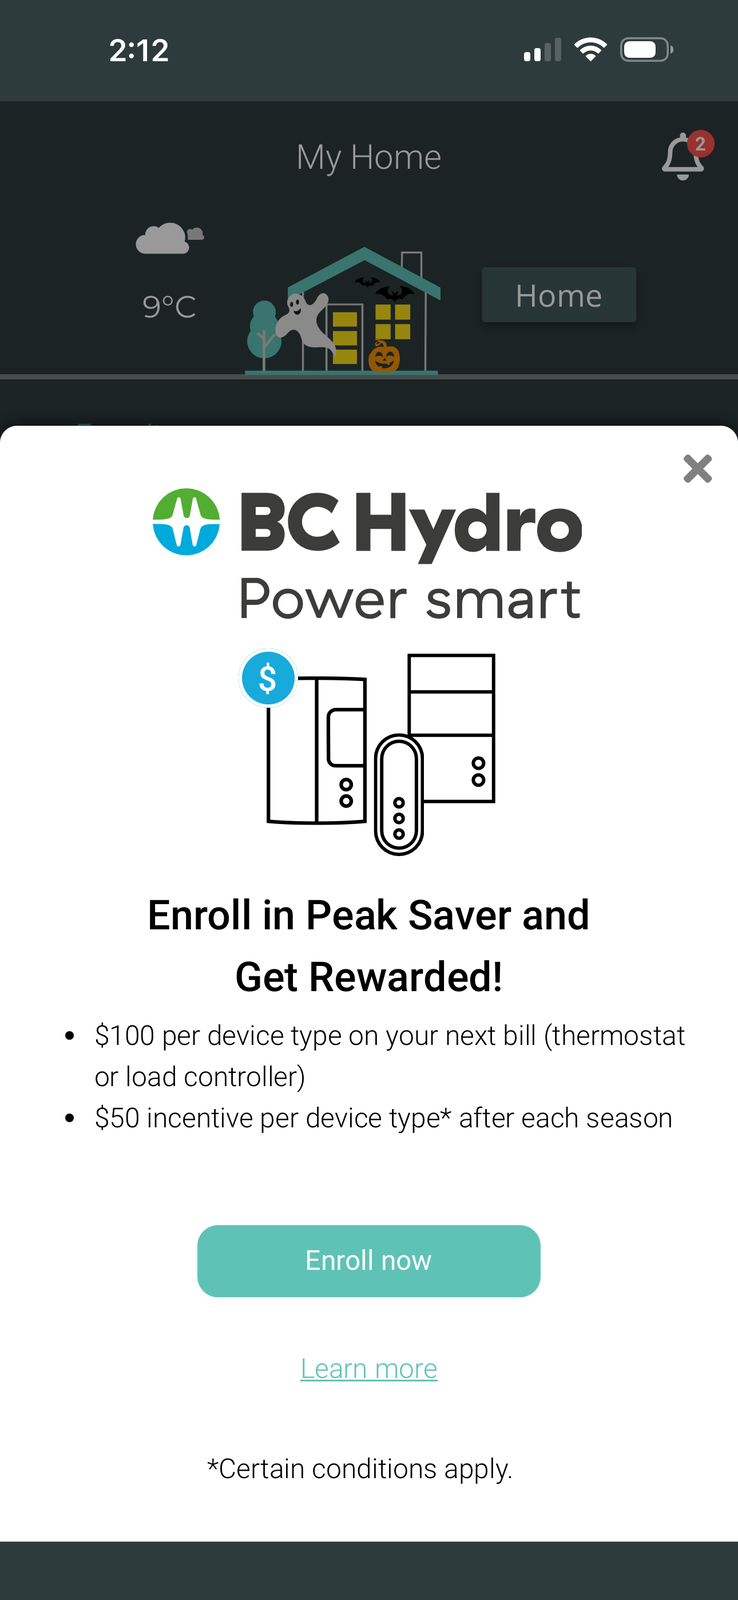
Here's where you can really save money. Every year, BC Hydro has a Peak Saver program that is active from Nov 1 to Mar 31. During that time, we are bound to have occasional peak energy events. For example, imagine it gets super cold and everyone is using a lot of electricity at the same time. This is usually in the morning and evenings. These peak energy events put a lot of pressure on the electrical grid. That's why BC Hydro created this program. As customers, they reward us for not using a lot of electricity during peak events. Best of all, it can happen automatically with smart devices that work with the Peak Saver program. All you have to do is enrol them into the program.
BC Hydro wants us to upgrade to smart thermostats and participate in this Peak Saver program. To help entice us, they offer an enrolment bonus for eligible smart devices. This includes $100 for enrolling a smart thermostat, or a smart water controller. If you have an electric car, you can get $250 for enrolling an EV charger.
These incentives make it a great time to upgrade. For example, if you buy a Sinope Smart thermostat and you register it for the Peak Saver Program, BC Hydro will give you $100 credit on your next Hydro bill. If you have a electric water heater and you also buy and register the Calypso Smart Water Heater Controller, you'll get another $100 credit.
At the end of the Peak Saver Program, you'll get an additional $50 reward for participating. That's an annual reward. Next year, you'll get $50 again. So the investment in these smart devices pays itself off over time. If you have electric baseboard heaters, or an electric water heater, buy at least one Sinope device each, and register it with the Peak Saver program. You're basically getting the devices for free. Or you can be like me and go all in and retrofit your entire home.
Sinope also offers BC Hydro bundles that are 25% off the retail price. Take advantage of this opportunity if you want to get smart about reducing your energy bills. Just remember to first determine if you need a 2-wire thermostat or a 3-wire thermostat. Do not do the electrical yourself, make sure you hire a certified electrician to do the install. If you are handy with basic electrical work, and you own your own detached home, you can apply for a Homeowner Electrical Permit. Check your local municipal authority to ensure you are following local rules. Also, if you do a lot of DIY work and you run into wires, buy this Circuit Alert tester. It will let you know if a wire is hot or now. I won't do any work around my house without it. It's a great safety gadget to have in your toolkit. Also don't forget to follow me online as I document my smart home energy savings with these Sinope thermostats. Find me @handyandymedia on all the socials below: